
How to Use a Wood Router? A Complete Step-by-Step Guide for Beginners and Pros
Woodworking is an art; it requires so much creativity and precision but also having the proper equipment by your side. There probably isn’t a single set of woodwork without one of the most versatile and important tools in any wood workshop, known as a wood router. From making that very first decorative edge in learning to mastering the skills of doing intriguing joinery as an experienced craftsman, learning to use the wood router is but getting started to realizing full potential in the woodwork arena.
This tutorial covers everything the novice needs to know in using a wood router—from the very basics through to some more advanced techniques. By the end, you will be confident to tackle a wide range of projects from simple edge profiles to complex inlays and joinery, including some expert tips and tricks to help get the most out of your router.
Take Your Woodworking to the Next Level! Build 16,000 Woodworking Projects With Step-By-Step Plans
What is a Wood Router?
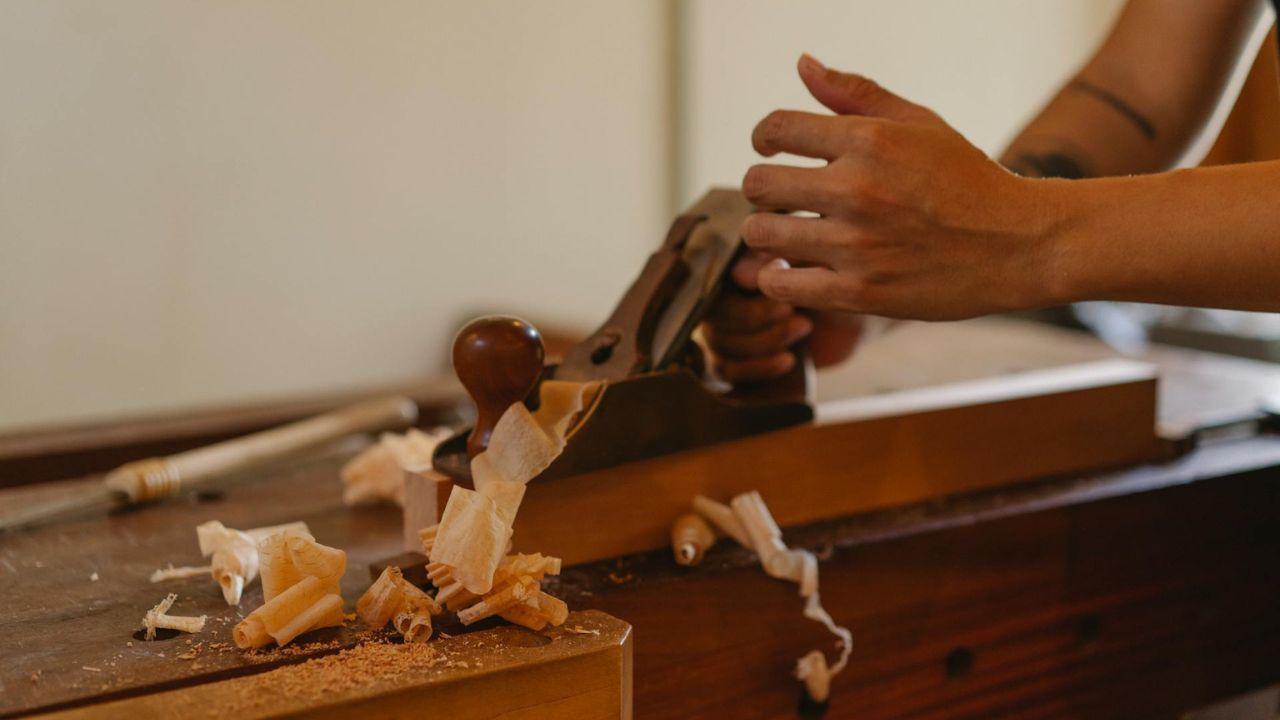
The router is actually a power tool adapted for routing or hollowing out wood. In making precise cuts, decorative edges, and doing detailed work, it takes out the material with the rotating bit. There is the fixed-base, plunge, trim routers, and others that serve specific purposes.
- Fixed-Base Routers: Perfect for edge profiling and tasks that call for the same depth.
- Plunge Routers: Ideal when cuts are needed at the middle of a workpiece, for instance, mortises or grooves.
- Trim Routers: Lightweight and manageable, and therefore perfect for small-scale detailed work.
Why Use a Wood Router?
Routers are highly versatile tools and find a wide range of applications including:
- Making decorative edges such as round-overs, chamfers, and ogees.
- Dadoes, rabbets, and grooves for joinery cuts.
- Flattening surfaces or trimming edges.
- Inlays, mortises, and dovetail joints.
- Crafting intricate designs and patterns.
If you’re looking to elevate your woodworking projects, a router is a must-have tool. For those just starting out, consider investing in a beginner-friendly model like the ones available here Build 16,000 Woodworking Projects With Step-By-Step Plans.
Getting Started: How to Use a Wood Router
1. Safety First
Safety first before any work with a router: use personal protective equipment, including safety glasses, ear protection, and a dust mask. The area of operation must be clear of clutter, cleaned, and well-lit. Hold your work in a vise or clamp it properly such that the movement during routing does not occur at all.
2. Right Selection of Router Bit
Router bits come in myriad shapes and sizes for the respective jobs. Most common types include:
- Straight Bits: For dados, grooves, and edge trimming.
- Flush Trim Bits: Best for edge trimming that is flush with the template.
- Round-Over Bits: For making rounded edges.
- Dovetail Bits: For dovetail joints.
Choose the right bit for your work and install it in the router’s collet properly.
3. Preparation of The Router
- Installation of Bit: Mount the bit into the collet and lock it with the wrench when the router is unplugged.
- Depth of Cut Setting: Set the depth of cut as required. Use more shallow passes for deep cuts to avoid overloading the router.
- Holding of Workpiece: Always place your workpiece on a strong and steady surface. Use clamps to hold the work and prevent movement.
4. Routing Techniques
- Edge Profiling: This is routing on the edge of the workpiece. Always move the router with the base flat on the surface. For outside edges, move counterclockwise, and for inside edges, move clockwise.
- Dados and Rabbets: Make cuts of either dados or rabbets by using a straight bit with a guide.
- Smoothing of Surface: Used for leveling uneven surfaces and eliminating defects.
5. Practice on Scrap Wood
Always make practice cuts on scrap wood before working on your actual project to get a feel for the router and ensure that settings are correct.
Advanced Router Techniques
With these basics mastered, you can move on to advanced techniques to elevate your woodworking skills.
1. Raised Panel Door
Making raised panel doors adds grace to your cabinets and furniture pieces. Use appropriate router bits in combination to achieve both the panel profile and the frame.
2. Dovetail and Box Joints
Dovetail joints are both strong and attractive, ideal for applications such as drawers and boxes. Use a dovetail jig and router for precise cuts.
3. Inlay Work
Inlays involve placing decorative material such as wood or metal into a recessed area. Use a straight bit for the recess and a smaller bit for fine work.
4. Template Routing
Templates allow you to duplicate shapes and designs precisely. Attach the template to your work and trace the edge with a flush trim bit.
5. Fluted Columns
Fluted columns add class to furniture pieces or architectural components. Use a fluting bit and make parallel grooves on the surface with the help of a guide.
Take Your Woodworking to the Next Level! Build 16,000 Woodworking Projects With Step-By-Step Plans
Operating a Wood Router
- Progressive Cuts: Make light cuts first, then deeper ones to avoid overloading the router and ensure fine results.
- Use Featherboards: Featherboards provide uniform pressure and control while routing.
- Work with the Grain: Always move the router in a direction opposite to the bit rotation to avoid tearout.
- Keep Bits Sharp: A dull bit can burn the wood and produce rough cuts. Regularly check and sharpen your bits.
- Invest in Quality Tools: Good quality routers and bits ensure better performance and durability.
See some great options here.
Common Mistakes to Avoid
- Applying Too Much Pressure: Let the router do the work. Excessive pressure can result in rough cuts or kickback.
- Not Using Safety Equipment: Always use safety equipment to prevent potential injuries.
- Bit Care: Clean your bits after use to maintain performance.
- Practice Cuts: Always make practice cuts on scrap wood before working on your project.
Caring For Your Wood Router
Proper maintenance will keep your router in peak working condition. Clean the tool after every use, grease all moving elements, and store it in a cool, dust-free place. Regularly check for wear and tear on the base, bits, and collet.
Conclusion
This guide will help you learn how to operate a wood router—from simple edge profiles to detailed joinery. A versatile tool that enables professional results, it is essential for both novice and experienced woodworkers. Invest in a decent router and quality bits, and with practice and patience, you’ll soon be creating stunning woodwork that showcases your craftsmanship.
Take Your Woodworking to the Next Level! Build 16,000 Woodworking Projects With Step-By-Step Plans
Can You Make Money Selling Woodworking Projects?
What Woodworking Project is Most Profitable?
How to Make Money Fast with Woodworking?
What is the Highest Paid Woodworker?
Is Woodworking a Good Business to Start
What is the Best Platform to Sell Woodworking Projects?
How to Sell Wooden Items Online?
Woodworking Related Topics And Tags:Wood router, woodworking tools, router techniques, woodworking guide, DIY woodworking, How to use a wood router, wood router tips, wood router safety, woodworking for beginners, Router bits, plunge router, fixed-base router, woodworking projects, advanced routing, Wood router operation, woodworking skills, router joinery, woodworking tips, router maintenance, DIY router projects, woodworking tools guide, router safety tips, woodworking craftsmanship