
How to Build a Wooden Shed? A Comprehensive Guide for Beginners
Few DIY projects are as pleasingly rewarding as building a wooden shed. Besides, constructing a shed increases the value of your property and is useful for storing your tools and equipment or even for a quaint retreat. The following tutorial will take any DIYer—be they a seasoned expert or a rank amateur—through every stage right until the completion of the job. You will be standing in front of a robust, functional, nice-looking shed with pride, being able to call it yours.
Take Your Woodworking to the Next Level! Build 16,000 Woodworking Projects With Step-By-Step Plans
Why Build a Wooden Shed?
The owners of houses just love the material of wood: it’s durable, versatile, and timeless. Other than the metal or plastic shed, the wood constructions will easily blend into the outdoors and are custom-made according to one’s needs and preferences. Besides, wood is a renewable resource and thus is deemed friendly to those who care for the green future of our planet.
But honestly speaking, constructing a shed can be one of the best things you can undertake in improving your property in some reasonable budget. For starters, the shed will enable better self-organization; but it is the possibility of adapting the shed—a workshop, an out-of-town garden office, even a reading place on a fine Saturday—that really rocks. If interested, you will be able to find more info at this comprehensive guide.
Step 1: Plan Your Shed
Choose the Right Location
The first thing which needs to be considered is finding an appropriate place. While building a shed made up of woods, consider factors such as accessibility to sunlight and utilities. In addition, the land must be leveled without any trees and boulders on it. A perfect place would make the task easy for building the shed but would also prolong its life.
Determine the Size
The size of the shed would, of course, depend on its intended purpose. A 6×8 feet shed might be satisfactory for gardening tools, but a 10×12 feet can easily fit much larger pieces of equipment and even a workspace. Take precise measurements of your space, adding extra room for doors and windows.
Getting Permits
Check your local building code and regulations first. Most cities and counties do not require a permit for a shed if it falls below a certain size, including 120 square feet; however, many will, and the time to check in with your locality can save potential fines or being made to dismantle your shed later.
Build 16,000 Woodworking Projects With Step-By-Step Plans
Step 2: Materials and Tools Gathered
Essential Materials
- Pressure-treated lumber to resist rot and insects for frame and base
- Plywood for floor, wall, and roof
- Materials which depend on what kind of roofing like tar paper, shingles, and corrugated metal
- Nails, screws, and steel straps will hold the building
- Weatherproof caulk and treated wood preservative
Tools You’ll Need
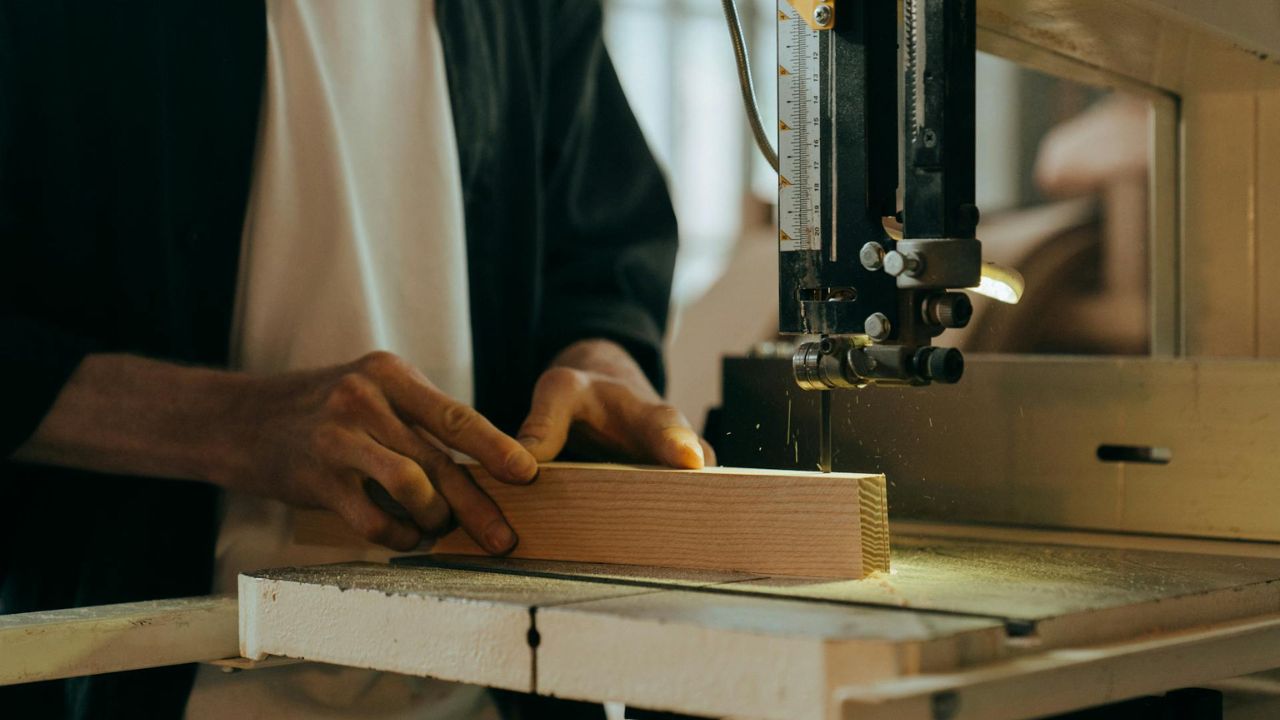
- Circular saw or jigsaw to cut lumber
- Hammer or nail gun to drive nails
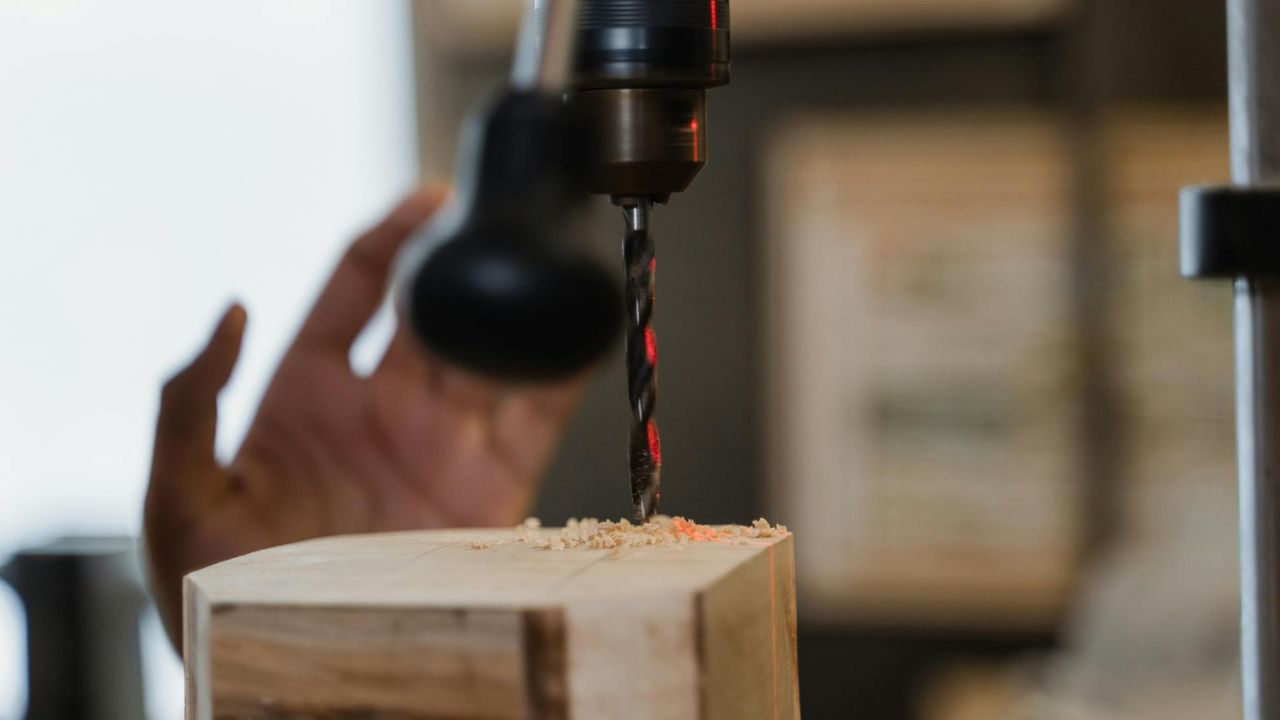
- Drill with screw bits and pilot hole bits
- Measuring tape, level, and chalk line for accurate measurement
- Protective gloves, safety glasses, and a hard hat
To see a detailed materials and equipment list, click on this useful link.
Step 3: Setting the Foundation
Grading the Land
A well-set foundation promises your shed stability and permanence. Clear the site of junk that would impact your foundation and level it with a spade and tamper. For added strength, consider usage of deck piers or blocks of concrete as a way of supporting your shed to a height somewhat higher than the actual ground level.
Building Base Frame
After the ground has been leveled off, a wooden frame is made using the pressure-treated 2×4 or 2×6 lumbers. Framing mostly on many occasions, nail or screw it on and squared it up. Nail the floor joist in 16-inch spacing for the plywood flooring.
Step 4: Wall Framing
Build Wall Frames
Frame the walls on the ground by laying vertical studs on horizontal plates, spaced 16 inches on center to match the width of most sheets of plywood. If your roof slopes, then the front wall should be a little bit taller than the back wall.
Attaching Raised Walls
With the aid of your friend, raise the wall frames up to position and nail or screw it to the base frame. Temporary supports hold the walls vertical when nailing them into each other.
Step 5: Building Roof
Installation of Rafters
Dovetail-cut rafter and angle it in order to reach from wall over for the best weather protection. Metal straps or nails secure rafters with wall tops.
Installation of Roof Sheathing
Line the rafters with plywood sheets from the lower edge going up, nailing or screwing the sheets to the rafters, leaving no gap between the sheets.
Waterproofing the Roof
Lay tar paper or roofing felt over the plywood, lapping to inhibit leaks, and finish with shingles or metal roofing for added durability.
Step 6: Installation of Doors and Windows
Installation of the Door
Measure the front wall for the opening of the door and cut. You can make your own doors or you may use pre-made doors. Attach hinges so that it opens and closes with ease.
Window Installation – Optional
If you want to have some source of natural light inside your shed, then cut out openings in the wall and place windows in them. Not to forget weatherproof caulk at the edges to stop air entry.
Take Your Woodworking to the Next Level! Build 16,000 Woodworking Projects With Step-By-Step Plans
Step 7: Finishing Touches
Weatherproofing the Shed
Smear a layer of wood preservative or exterior paint to protect the shed from moisture or devastation from UV radiation. The gaps or fissures should be caulked so that no insect or draft could enter inside it.
Installing Shelving and Storage
Install shelving, pegboards, or hooks to maximize interior space and effectively organize your tools and equipment.
Landscaping Around the Shed
Add gravel pathways, flower beds, or potted plants around the shed so it becomes eye-catching. The shedding would blend into the garden in a harmonious way.
Conclusion
The construction of a shed is one of those rewarding jobs that merges functionality with imagination. If you follow the indications herein, you shall be expecting to have a solid and beautiful structure for your needs, adding value to your estate. Remember to plan ahead, have quality materials within reach, and never disregard safety at any time.
For more helpful tips and step-by-step instructions, see this informative site. From storing tools to workshop to relaxing escape, a shed made of wood is a great accessory for any owner of a house. Good luck with construction!
Take Your Woodworking to the Next Level! Build 16,000 Woodworking Projects With Step-By-Step Plans
Can You Make Money Selling Woodworking Projects?
What Woodworking Project is Most Profitable?
How to Make Money Fast with Woodworking?
What is the Highest Paid Woodworker?
Is Woodworking a Good Business to Start
What is the Best Platform to Sell Woodworking Projects?
How to Sell Wooden Items Online?
Woodworking Related Topics And Tags: how to build a wooden shed, DIY wooden shed guide, shed building tips, wooden shed construction, beginner shed building, shed planning and design, shed materials and tools, outdoor storage solutions, DIY backyard projects, step-by-step shed building