
Creating Your Own Piece of Art with Wood: DIY Wooden Jewelry Box
Woodworking is an amazing hobby for people who love handling—or rather want to handle—wood or are trying something different but fun. Truly said, there could be no perfect combination of functionality, style, and the satisfaction gotten from making up a project without relying on even one manufactured part. With it, you should be able to see what kind of project that would look like from start to end, and also in the course learn how things go around, from a beginning to final decorations. There, you will discover the process through which you shall have a stunning jewelry box; in fact, so beautifully made that it will be transmitted down generations for people to benefit.
Take Your Woodworking to the Next Level! Build 16,000 Woodworking Projects With Step-By-Step Plans
Why Create a Homemade Wooden Jewelry Box?
Handmade wooden jewelry boxes can be just as useful at keeping stuff sorted in storage but also serve as a unique gift to someone and an interesting accessory for home decoration. Indeed, unlike mass-produced boxes, any detail can be changed in such a handmade DIY project, starting with the kind of wood used, the number of interior compartments, their design, and so on. It is also an excellent chance to develop your woodworking skills and create something very unique.
If you’re looking for inspiration or tools to get started, check out this exclusive offer for high-quality woodworking supplies that can elevate your project.
Materials and Tools You’ll Need
Before diving into the project, gather all the necessary materials and tools. Here’s a comprehensive list to ensure you’re well-prepared:
Materials:
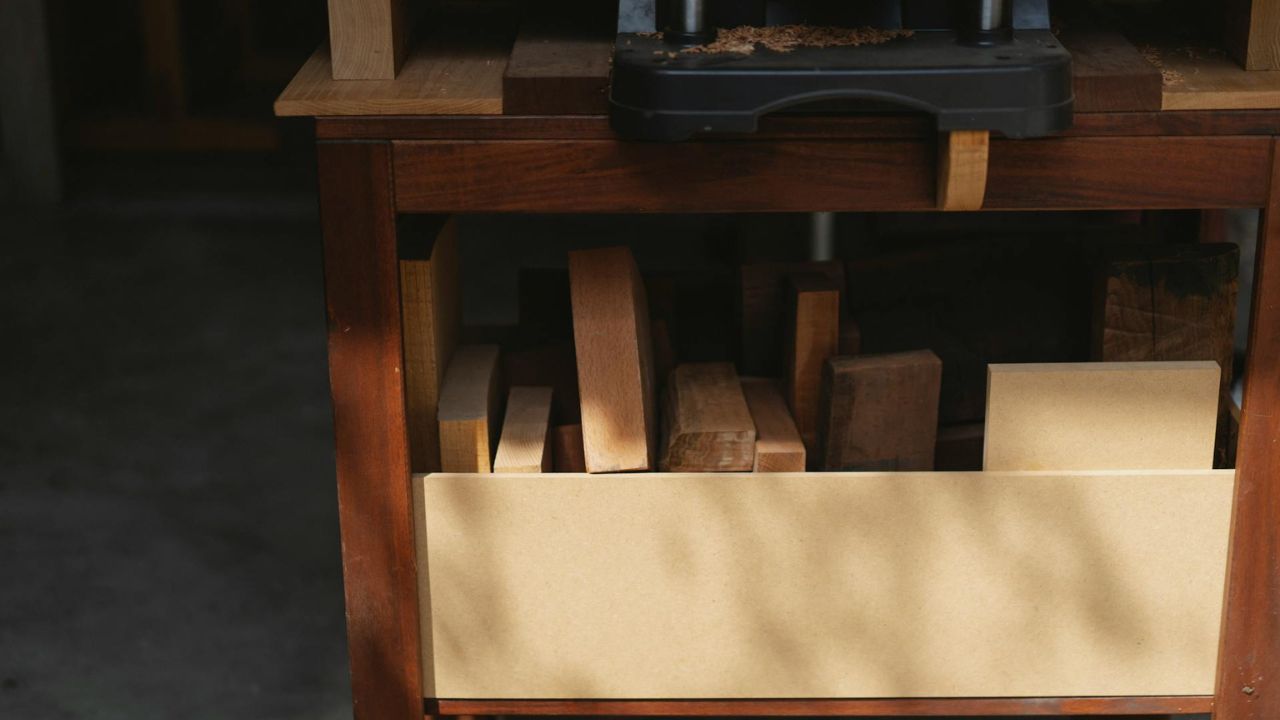
- Hardwood: Oak, walnut, cherry, or maple for durability and aesthetic appeal.
- Plywood or solid wood: For the base and dividers.
- Wood glue: Strong and lasting joints.
- Sandpaper: Multiple grits from 80 to 400 for a fine finish.
- Flocking or velvet fabric: To line the inside and protect your jewelry.
- Hinges and hardware: Brass or nickel hinges and clasps for a classy look.
Tools:
- Table saw or circular saw: Clean cuts.
- Router: Grooves and decorative edges.
- Clamps: To hold pieces in place while glue dries.
- Chisels: For finer details and joining.
- Measuring tools: Tape measure, square, and compass for accuracy.
- Safety equipment: Safety glasses, dust mask, and ear protection.
Entice with reward: Bring in some really quality high-end woodworking tools to make this a heck of a lot less painful process on your project and really quite enjoyable.
Build 16,000 Woodworking Projects With Step-By-Step Plans
How to Make a Jewelry Box: Step by Step
Step 1. Design and Planning
First, sketch your design. However, think about the space, compartments, and decorations to include in your design. A planned design minimizes time and gives off a classy finish at the end.
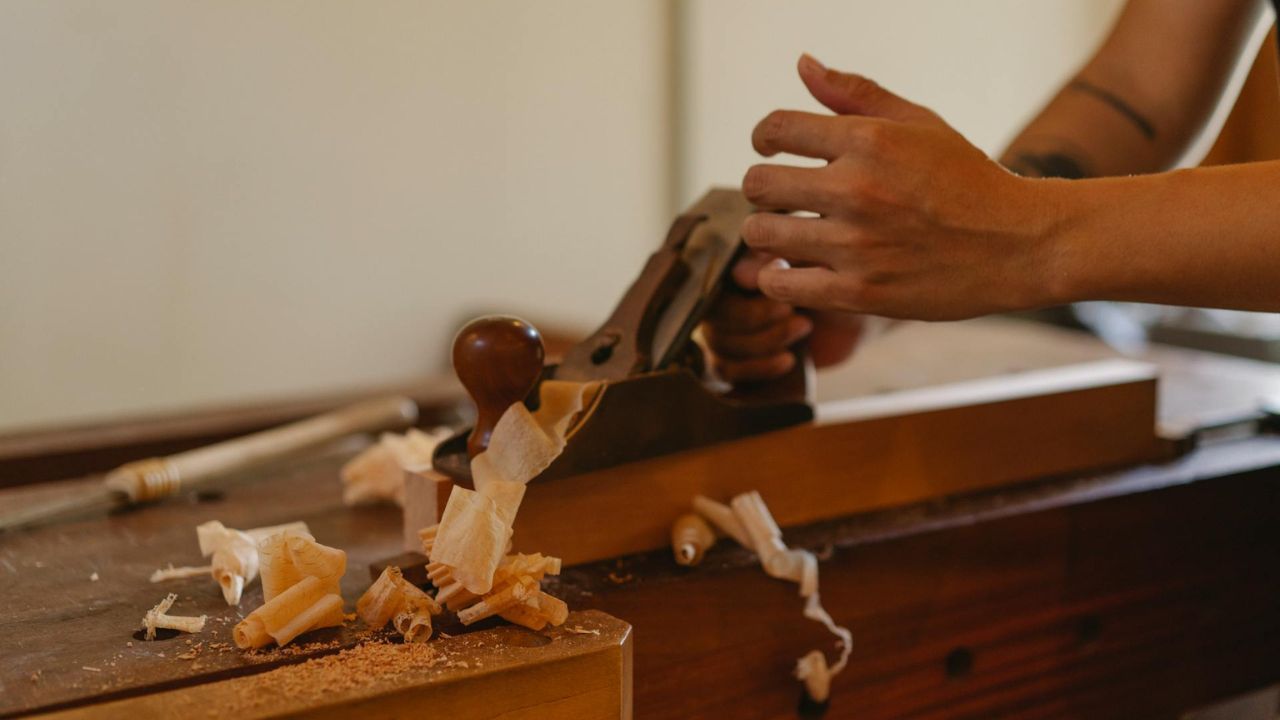
Step 2. Cutting and Preparing Wood
Measure and mark according to the dimensions of your plan. Use a table saw or circular saw to cut it neatly. Just smooth the edges lightly to remove the splinters.
Step 3. Joinery Techniques
A dovetail or box joint can be used to make a good, strong box, which not only strengthens the box but also adds a sense of craftsmanship to your project.
Step 4. Assembling the Box
Apply wood glue to the joints and use clamps to hold the pieces together. Wipe off any excess glue with a damp cloth for a clean finish.
Step 5. Creating the Lid and Hinges
Design either a simple lift-off or hinged lid for additional versatility. Hang either brass or wooden hinges with a period look.
Step 6. Compartment Addition and Lining
Rout grooves to fit dividers or add small wooden trays. Line the inside of your jewelry box with velvet or flocking fabric.
Step 7. Sanding and Finishing
Smooth out the whole box using sandpaper in graduating grit to give it a fine finish. Apply stain or varnish to bring out the beauty of the wood as well as protect the polish from wear.
Step 8. Personal Touch and Finishing Touches
Add some personal touches, such as woods inlaid into each other, an engraved design, or a personalized nameplate, so that your box is truly yours.
Get this opportunity and let your design become reality with prime materials and tools.
Design Inspiration for Jewelry Box
Victorian Era Design
This is an ornate jewelry box design that is rich and detailed. It makes use of luxury materials, detailed carvings within the woodwork, velvet-lined interiors, and even some brass trimmings. Its essence is pure timelessness as one of those perfect heirloom jewelry pieces.
Contemporary Minimalist Concepts
Sleek and functional, minimalist designs are clean-lined and finished with natural materials. Light-colored woods like maple or bamboo really lend themselves to this style, which will appeal to contemporary tastes.
Rustic Farmhouse Styles
Applying rustic design in the box with reclaimed wood and a distressed finish introduces simplicity in its metal hardware. These wooden boxes offer your brand a perfect, cozy, and inviting feeling.
Keys to Success
- Measure Twice, Cut Once: It is the precision that makes your jewelry box look professional.
- Eco-friendly Material: Use FSC-certified wood to give an eco-friendly finish to the wood.
- Try Finishes: Test the stain and finishes on scrap before using them on the project.
- Work in a Dust-Free Area: No marks and dust-free finish.
For more tips and tools, check out this special deal on high-end woodworking materials.
Conclusion
Making a wooden jewelry box is really satisfying in its own right: it embodies so much creativity and skill, in addition to providing the opportunity for fine attention. This will, after all, be a functional product that is simultaneously an aesthetic and personal reflection piece. For someone, or as a gift, your piece of homemade jewelry box makes it onto someone’s list, year after year.
Take Your Woodworking to the Next Level! Build 16,000 Woodworking Projects With Step-By-Step Plans
Can You Make Money Selling Woodworking Projects?
What Woodworking Project is Most Profitable?
How to Make Money Fast with Woodworking?
What is the Highest Paid Woodworker?
Is Woodworking a Good Business to Start
What is the Best Platform to Sell Woodworking Projects?
How to Sell Wooden Items Online?
Woodworking Related Topics And Tags:DIY jewelry box, wooden jewelry box, woodworking project, handmade jewelry box, DIY woodworking, jewelry box tutorial, wooden jewelry box, DIY woodworking, handmade jewelry box, woodworking tutorial, DIY crafts, jewelry storage ideas, handmade jewelry box, DIY wooden box, woodworking tips, jewelry box design, DIY project, woodworking tools, DIY jewelry box, woodworking guide, handmade wooden box, jewelry box design, DIY wood crafts, woodworking techniques