
DIWood Furniture: How to Build a Wooden Bench – A Beginner’s Step-by-Step Guide
Making a wooden bench is probably one of the most satisfactory DIY projects, which in some way merges functionality with art in one combination. This step-by-step tutorial will walk you through adding seating to a garden, creating a cozy reading nook for a living room, or making just one practical storage bench for the entrance—starting from selecting just the right materials needed for a bench up to its finishing touches toward a strong and great tasteful creation.
Take Your Woodworking to the Next Level! Build 16,000 Woodworking Projects With Step-By-Step Plans
Why Build a Wood Bench?
They are also very versatile, and wood benches can spice up many areas—be it in your garden, patio, or even indoors, such as a mudroom and dining room. By making one yourself, you get to decide on the design, size, and finish of the bench to fit your style and needs. Besides, it is an inexpensive method of adding functional furniture in a house.
If you are a complete beginner to woodworking, then don’t worry! This guide is suited to all those from complete beginner to the advanced DIYer. If you would like to begin with quality tools and materials, check out this recommended resource to find everything that you’ll require.
Step 1: Plan Your Bench
Choosing the Correct Design
Third in the series will be what type of bench is actually it that you’re planning to construct—for outdoors with most of the models having slats across, in seat and back, then there’s Combination: Storing Seat or Bench with Under-cover Storage which are preferably taken onto an entry/mudroom area. Then modern style seat—characterized with clean line designs and simple geometry—then comes Rustic—this includes these kinds of woods pieces presenting a pleasant distressed outlook.
Consider what your bench will be used for, and where it will go. An outdoor bench will want to be constructed of weather-resistant wood, such as cedar or teak, while an indoor bench may be softer woods, like pine.
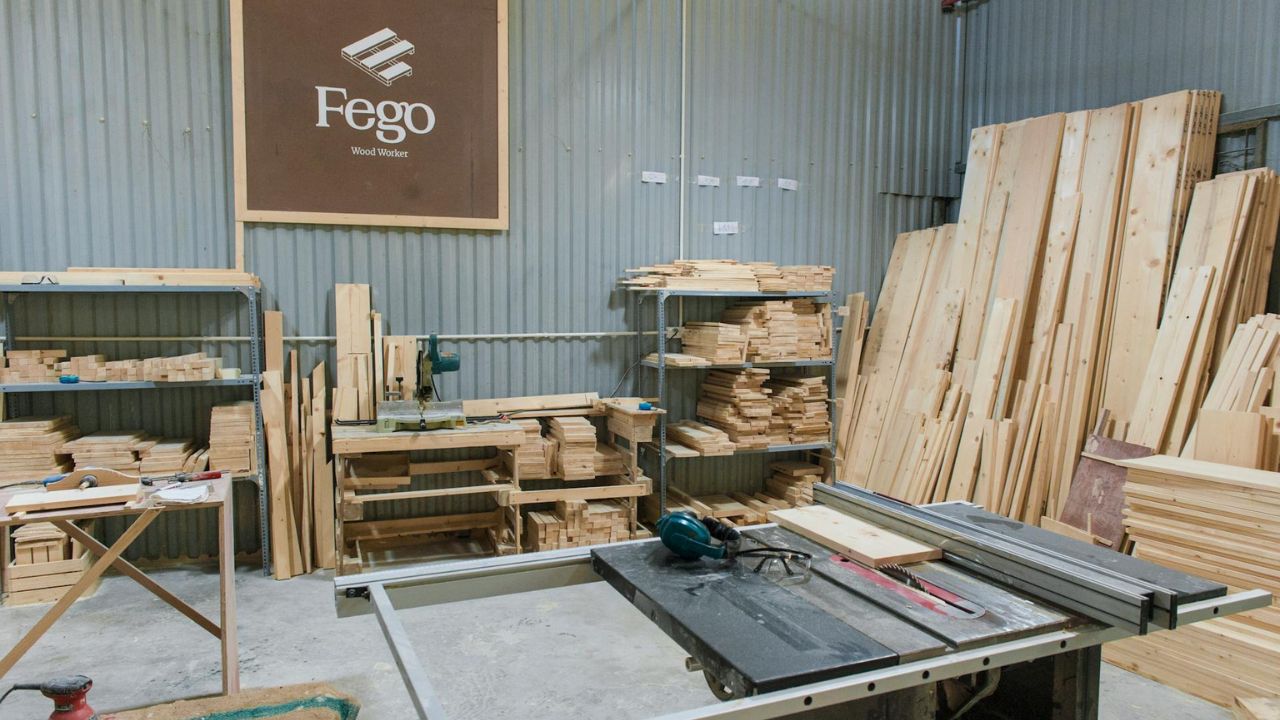
Materials/Tools
The following are the supplies and tools needed, which include:
- Wood: Cedar, pine, oak, or teak, depending on your design and budget.
- Screws and Nails: For outdoor benches, resistance types should be utilized, like galvanized or aluminum.
- Sandpaper: Finds surfaces that need smoothening in areas that may have sharp edges.
- Stain or Paint: Coating and adding color to beautify the wood finish.
- Tools: Measuring tape, saw, clamps, goggles, gloves amongst others.
This helps in ensuring that the quality of the tool and material that one is seeking is first class. For high-quality tools and materials, visit this trusted supplier.
Take Your Woodworking to the Next Level! Build 16,000 Woodworking Projects With Step-By-Step Plans
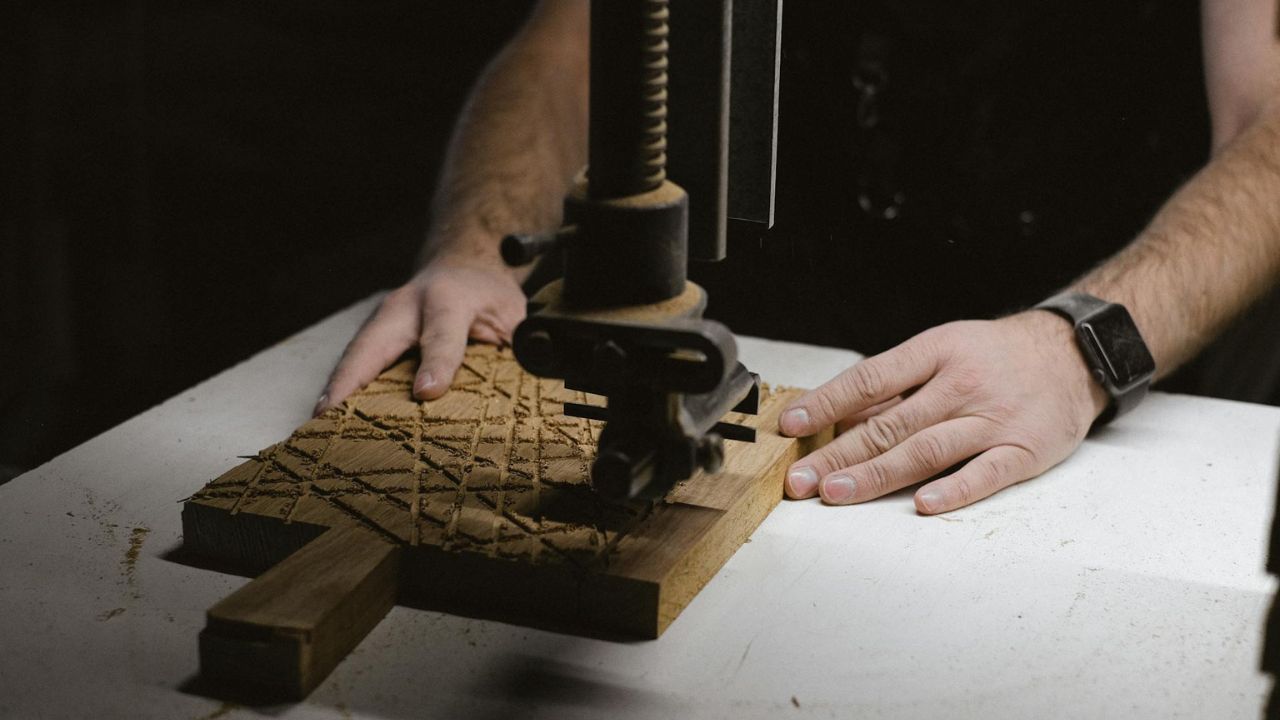
Step 2: Measure and Cut Wood Parts
Measure and Cut
A good bench has to be a benchmark in the measurements. A tape measure is needed in marking length and width regarding seat, legs, and backrest. Measurement has to be done twice, cut once to avoid cutting errors.
Cuts can be made either by a circular saw or by a miter saw. All power tools are to be used putting on safety goggles and with caution following the manufacturer’s instructions. The amateur in woodwork may also begin by practicing on scrap wood.
Sanding of the Wood
Smoothening off the Edges: Cut and sand all the pieces of wood to remove the rough edges and the splinters. First, take the coarse grit sandpaper 80-100 grit and move to finer grits for a smooth finish 220-320 grit. This improves the appearance and is important from the safety viewpoint since it eliminates the sharp edges.
Step 3: Put Together the Bench
Fabrication of the Frame
The frame is the skeleton of your bench. Attach the legs to the seat first with wood screws. For added stability, wood glue on the joints is a plus. Clamps will be your best friend in holding the pieces in place while the glue dries.
Attach it to the seat if your bench has a back, reclined a little for comfort. Add brackets or dowels in the joints for reinforcement.
Adding Support Braces
Support braces are horizontal pieces that connect the legs and prevent wobbling. Measure the distance between the legs, cut the braces to size, and attach them with screws or nails—making sure they are level and secure.
Take Your Woodworking to the Next Level! Build 16,000 Woodworking Projects With Step-By-Step Plans
Step 4: Finishing Touches
Smoothening and Sanding
After assembling the bench, sand it to make it smoothen any rough spots. Pay much attention to the seat and backrest since these are the bench regions coming into contact with the users.
Application of Stain or Paint
Staining or painting will make the bench much more presentable and give protection against wood moisture or damage from UV exposure. Choose either a stain to bring out the grain in the wood or a paint color that sets the tone of your interior or exterior decor. Let the finish dry thoroughly with no evidence of moisture, and apply evenly using a brush or foam applicator until completely dry.
For high-quality stains and paints, check out this recommended product.
Step 5: Maintenance and Care
Regular Cleaning
Cleaning your bench on a regular basis with soap and water only, will make it more long-lasting, as harsh chemicals destroy the wood. In the case of benches fitted outside, protective sealant should be applied on yearly bases in order to avoid weathering.
Checking for Damages
Bench does bear great and rigorous uses; check it regularly from time to time for loose screws and even to the cracks and traces of rotting. Loosened screw needs to be immediately tightened while each damage needs repair for increasing the cycles of life span.
Creative Bench Ideas
Outdoor Rope Bench
The rope bench will look great in adding a rustic feature to your garden. It consists of thick cotton or nylon rope which is intertwined together to form the seat and back. A very fashionable yet comfortable design.
Live Edge Bench
The seat can be made from a live edge wood slab. It helps in giving organic in nature, because this design showcases natural curves along with imperfections in the wood. Thus, each bench will be different in a unique manner.
Upholstered Bench
Add cushions to your bench or upholstery for making it comfier. For outdoors, weather-resistant fabrics in benches are usable whereas for indoor applications use the soft or cozy material.
Take Your Woodworking to the Next Level! Build 16,000 Woodworking Projects With Step-By-Step Plans
Conclusion
The process of making a bench out of wood is quite a rewarding task since one gets to create a piece of furniture which can easily fit into his needs and tastes. Using this step-by-step guide, you are sure to possess a nice strong bench; after finishing it, you can showcase it at your house or in the garden area with great pride.
And like anything you make, it’s only as good as the material and tools you use. Grab what you need to get started with from this reliable supplier.
Can You Make Money Selling Woodworking Projects?
What Woodworking Project is Most Profitable?
How to Make Money Fast with Woodworking?
What is the Highest Paid Woodworker?
Is Woodworking a Good Business to Start
What is the Best Platform to Sell Woodworking Projects?
How to Sell Wooden Items Online?
Woodworking Related Topics And Tags: DIY wooden bench, how to build a bench, woodworking for beginners, DIY furniture projects, outdoor bench plans, indoor bench ideas, wooden bench tutorial, beginner woodworking guide, DIY storage bench, rustic bench design, modern wooden bench, garden bench plans, DIY home furniture, woodworking tools and materials, step-by-step bench building