
How to build a wooden desk for Beginners: Easy Guide to Building Your Own Custom Desk
Making a desk out of wood is somewhat an appealing piece of DIY work; it requires artistry, carpentry skills, and functionality all together. Whether he is an expert at working with wood or just a mere amateur, while making a desk is in regard to space, style, and need. It is this well-structured whole process that has taken us through the making of a wooden desk, from design to gathering of materials and then to assembling and finishing. Added to that are many tips which we can share with you that will make the process smooth and enjoyable as you build your desk.
Take Your Woodworking to the Next Level! Build 16,000 Woodworking Projects With Step-By-Step Plans
Why Build Your Own Desk out of Wood?
Before I get to the actual how-to, just a quick explanation of why you’d want to make a desk for yourself.
Do it your way: Take only that with which serving good for space can easily make it and would be quite affordable to build your personal DIY as manufacturing a desk as opposed to buying one superior model, store-bought provides more budgeting scope with good quality.
Nature-friendly: Your best wood is the option at hand.
Satisfaction—it’s the feeling one gets when something’s made by your hands, then used; there’s just about none.
If ready to get started, then let’s dive into it. If interested in getting quality tools or materials that can make working on your project easier, take this exclusive offer for all that you may need.
Step 1: Strategize Your Desk Design
To make a wood desk, the first thing is planning. In the plan, consider the following aspects:
1. Desk Dimensions
- Height: The height for a normal desk is about 29 to 30 inches, but one can always readjust it to where one feels comfortable.
- Width and Depth: After considering how much surface area you would find useful, give width to a regular desk, usually between 48-60 inches, and a depth from 24-30 inches.
2. Style of Desk
- Modern: Sleek lines and minimalist in design.
- Rustic: Wood reclaimed with finishes that are distressed.
- Industrial: Metal legs, raw wood tops.
3. Function
- Does it have to have drawers or shelves?
- Is this for gaming, working, or crafting?
Now draw it out or do it in a design program to get an idea of what the end product will look like.
Take Your Woodworking to the Next Level! Build 16,000 Woodworking Projects With Step-By-Step Plans
Step 2: Materials and Tools Needed
Materials:
- Wood: The type of which could be pine, oak, or plywood.
- Legs: You can either make your own out of wood or purchase legs made from metal.
- Screws, Nails, and Wood Glue: They shall be used in assembling the desk.
- Sandpaper: This will be used in sanding the wood.
- Finish: This could be stain, paint, or sealant to protect the wood.
Tools:
- Saw—circular saw or table saw
- Drill
- Measuring tape
- Clamps
- Sander
- Paintbrush or foam roller
If some of the tools or materials seem not to be present, do not worry. You may avail all those from this resource.
Step 3: Cut to Size Wood for Desk Top and Legs
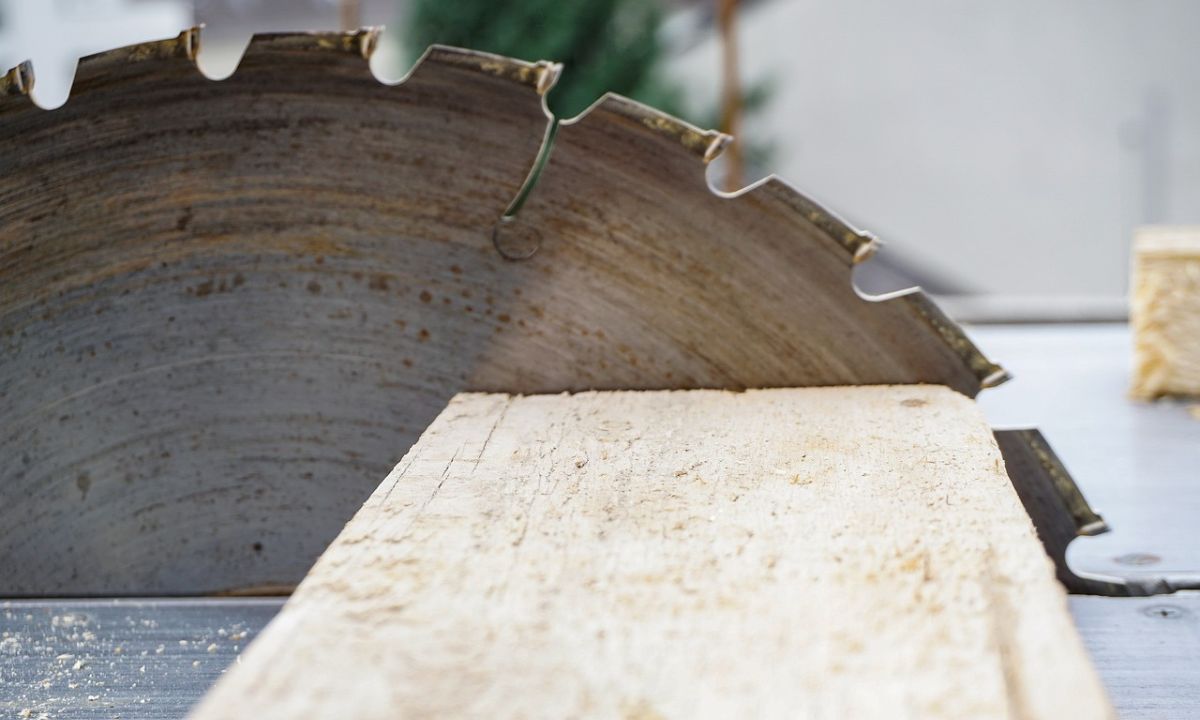
Other components you will have, including drawers and/or shelves. Cut to size your wood for each of these now. Double check your measurements against the cut to avoid mistakes.
Pro Tip: If you’re new to woodworking, practice cutting on scrap wood first to get comfortable with the tools.
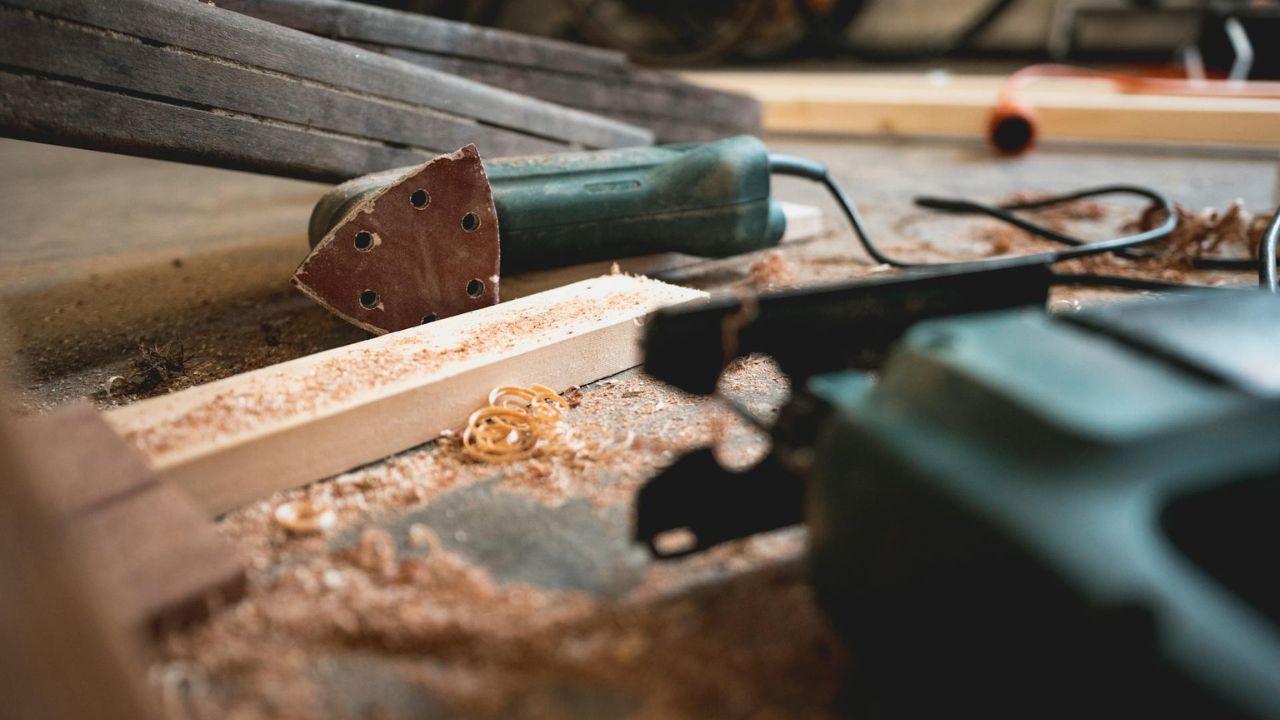
Step 4: Sand the Wood
Sanding perhaps is the most important part of any woodworking; a fine, professional finish wholly depends on it. First, take out any rough edges with coarser grits, like 80-120 grit, then to finer grits of sandpaper such as 180-220, for that extra fine and polished surface.
Safety Tip: Avoid inhaling dust; put on mask and goggles.
Step 5: Attach the Legs
Attach legs to desktop securely either by direct attach method or by using brackets. The legs should be set equidistant apart and leveled.
Adding Supports: If the width of the desk is wider, please attach the middle support beam. It will act to reduce sag.
Install Drawers or Shelves: This would be your step in case your design calls for some sort of storage.
Pro Tip: To make it even more snuggly and tight, just continue to clamp a few clamps onto the pieces of the desktop.
Step 6: Finishing
The desk is assembled, and now it’s time to choose a finish—from some natural wood tone to some bold, bright paint color. Put on a top coat—even application and proper time given between coats to dry.
Pro Tip: The finish should first be tested in a small, hidden area, just to be satisfied with the outcome.
Step 7: Add Your Touch
Finally assembled and varnished, your desk is ready to adorn your touch with the following installations:
- Cable Management: Screw in some hooks or clips that would hold the wires.
- Desk Accessories: Screws for the monitor stand, drawer organizers, or desk lamps.
- Decorations: Slap some plants, photos, or artwork on it.
Success Tips
- Measure Twice, Cut Once: That’s how it’s done—for accuracy in carpentry.
- Work in a Well-Ventilated Area: Most important when sanding or applying any finish.
- Take Your Time: Rushing can lead to mistakes.
- Invest in Quality Tools: They make the process easier and safer.
If you’re looking for high-quality tools or materials to make your project easier, check out this exclusive offer for everything you’ll need.
Common Mistakes to Avoid
- Skipping the Planning Phase: A good design will save your time and some extra materials.
- Safety Measures: Wear your safety gear and work all the tools accordingly.
- Wood Grain Awareness: Keep in mind the wood grain direction to give your professional touch.
Frequently Asked Questions
1. What is the average cost involved in making a wooden desk?
All this depends on the type of materials and what kind of tools you are going to use. An average desk would cost you anything between 300.
2. How long does it take to make a desk?
One weekend for a beginner woodworker, a person who had more experience possibly in one day.
3. Do I need to have power tools to build a desk?
You could, but it would involve so more work and take longer too.
4. What type of wood to use to make the desk?
The hardwoods like oak and maple are denser and tend to look nice while pine is cheap.
Conclusion
It will be one of the most satisfying woodworking projects. Of course, with setting a well-thought-out project and using appropriate tools you could get down to your needs by making a beautiful desk yourself. If you can implement all the essential details worth paying off, you are going to have a desk with a very practical and aesthetic structure. Then, if still in need of quality tools or materials that are going to help you do just that, be sure to see the exclusive deal below.
Take Your Woodworking to the Next Level! Build 16,000 Woodworking Projects With Step-By-Step Plans
Can You Make Money Selling Woodworking Projects?
What Woodworking Project is Most Profitable?
How to Make Money Fast with Woodworking?
What is the Highest Paid Woodworker?
Is Woodworking a Good Business to Start
What is the Best Platform to Sell Woodworking Projects?
How to Sell Wooden Items Online?
Woodworking Related Topics And Tags: Build a wooden desk, DIY wooden desk tutorial, How to make a wooden desk, Custom wooden desk guide, Beginner woodworking projects, DIY desk building tips, Wooden desk plans, Home office desk DIY, Woodworking for beginners, Desk building tools and materials