
How to Stain Wood Like a Pro: Tools, Techniques, and Expert Advice
The stain transforms the wood from a plain wooden surface into one that magically makes anything out—be it your furniture or just about anything one works on—beautiful. An activity no expert, let alone the total beginner in the field, should miss doing. From steps to some tips and tricks, this article will take you through to the professional-looking outcome. Moreover, we are going to introduce you to an amazing product going to make your process of staining very much easy—check out Build 16,000 Woodworking Projects With Step-By-Step Plans.
Why Stain Wood?
Staining woods offer both aesthetic value and other practical purposes as well. Stain brings out the grain, colors the wood, and provides some wear and tear protection. Unlike paint, which lies on the surface, stain works its way into the wood so natural texture can still shine through. Whether it’s restoring old or building new, adding the stain just provides that finishing professional touch to the work at hand.
Materials You’ll Be Using
Before you start, gather the following materials:
- Wood stain—oil-based or water-based
- Sandpaper—120-grit and 220-grit
- Tack cloth or microfiber cloth
- Wood conditioner—optional
- Brushes, rags, or foam applicators
- Protective gloves and eyewear
- Drop cloths or newspaper
- Clear finish—polyurethane, varnish, or lacquer
Take Your Woodworking to the Next Level! Build 16,000 Woodworking Projects With Step-By-Step Plans
How to Stain Wood: Step-by-Step Guide

1. Prepare Your Workspace
Staining can be messy; hence plan on a clear area and have it well ventilated. Cover the surface by laying down newspaper or drop cloths. This is an interior project; remember to have good ventilation by opening up a window or simply use your fan.
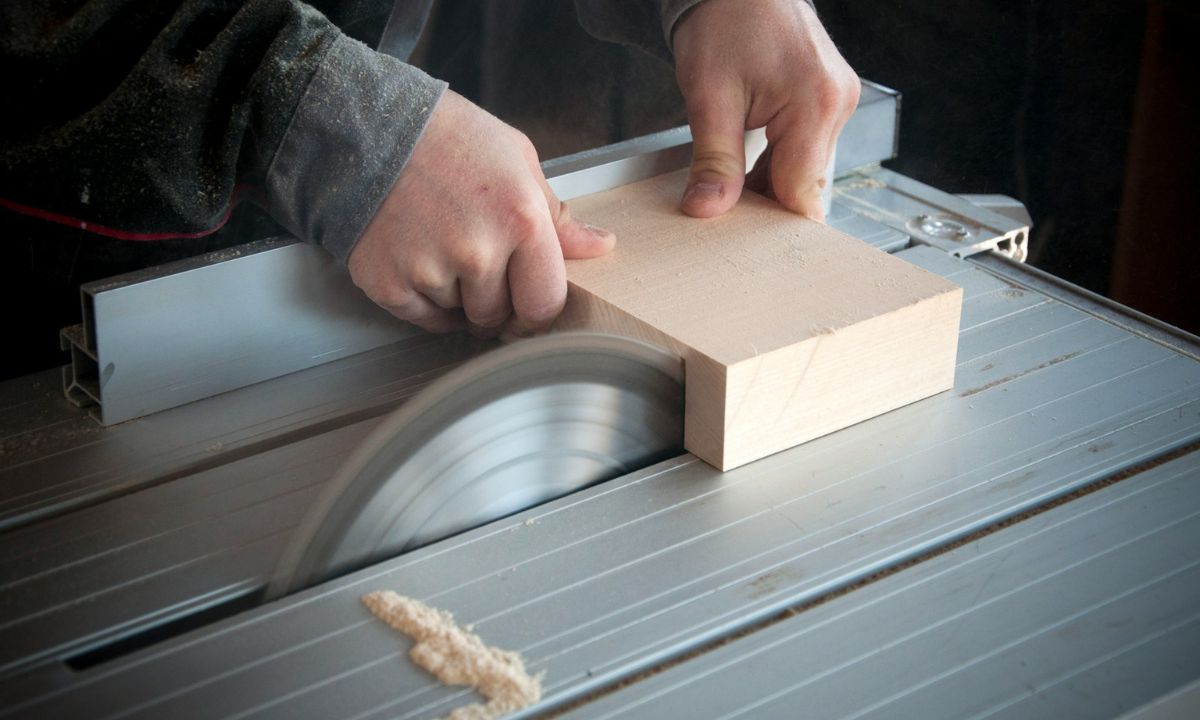
2. Sand the Wood
One of the major ways of achieving smooth, even staining is through sanding: taking out the roughness and imperfections first with 120-grit, then really fine-tuning with 220-grit. Make sure your sandings are on grain. Upon completion, wipe down the dust either with a tack cloth or microfiber.
3. Application of the Optional Wood Conditioner
If using softwoods, such as pine or fir, a wood conditioner can be applied to prevent blotching. The conditioner seals the pores in the wood to ensure even stain absorption. Follow the instructions on the bottle with regard to application and drying time.
4. Choose Your Stain
Picking the right stain is one important stepping stone towards the perfect look—oil-based for durability and reaching really deep, water-based to dry out fast and fasten the clean-up time of the project. For quality highly varied stains in the market today, refer to this amazing product.
5. Application of the Stain
SHAKE WELL BEFORE USING. Apply stain in the direction of the wood grain by brush, rag, or foam applicator. Work in a small area, about four square feet to assure even stain color. The stain should sit on the wood surface 5 to 15 minutes depending on the depth of desired color. Wipe away excess stain with a clean rag.
6. Allow To Dry
Allow to dry completely; apply a second coat if necessary. Drying times will vary with the different types of stain and prevailing conditions. Follow the manufacturer’s instructions.
7. Apply a Clear Finish
Once it’s dry, protect your work with a clear finish. Polyurethane, varnish, or lacquer gives it toughness and really brings out the beauty of the wood. Apply a finish using a brush or rag in the direction of the grain. Let it dry, lightly sand with 220-grit sandpaper, and apply additional coats.
Build 16,000 Woodworking Projects With Step-By-Step Plans
Tips for a Flawless Finish
- Test the Stain: Always test the stain on a scrap piece of wood to ensure you’re happy with the color.
- Work Quickly: Stains can dry fast, so work in small sections to avoid streaks.
- Use Quality Tools: Invest in good brushes and applicators for a smoother application.
- Don’t Rush Drying: Patience is key. Rushing the drying process can lead to uneven results.
- Try Different Ways of Application: A cloth will yield that rustic tone and a brush for the detail touch.
Common Errors to Avoid
- Sanding: Not doing this will make sure the stain adheres well.
- Application Too Much Stain: Too much stain makes it tacky and not-smooth.
- Safety Precaution: Always wear your gloves and eye-wear protection. Keep the area well ventilated.
- Primer/ Wood Conditioner: Very important especially for softwoods as this will help avoid blotches.
Why Choose the Right Stain?
Good quality stain can make the difference between a good and bad project. Good quality stains offer more adequate coverage, deeper, richer colors, and far more durability. Looking for a top-of-the-range product that has to give professional-grade results? Look here for this excellent option.
Staining Different Types of Wood
Different woods take stain at different rates. Here’s a breakdown of common woods and how they’ll want to be stained:
- Hardwoods (Oak, Maple, Walnut): Since these woods are so dense and have tight grains, they usually take stain more uniformly. Smoothing and conditioners can help achieve an exemplary finish.
- Softwoods (Pine, Fir, Cedar): Softwoods generally have loose and open grains, and they may be prone to blotching. The use of a wood conditioner is highly recommended.
- Plywood and MDF: These can indeed be stained; however, they mostly require more preparation, which includes sealing of the edges.
How to Maintain Stained Wood
To keep your stained wood looking great, here’s how to maintain it:
- Dust Regularly: Use a soft cloth to avoid the accumulation of dust.
- Avoid Harsh Cleaners: Clean any stained surface with mild soap and water.
- Reapply Finish: Over time, the clear finish may wear down. Reapply as needed to protect the wood.
Conclusion
Staining the wood can indeed be very satisfying to bring out the best in any project. With the use of the above steps and guidelines on how to get that perfect and professional finish, it will right be at your fingertips. Bear in mind always that the right materials and tools make all the difference. Check out this fantastic product for top-notch stain offering incredible results.
Be it a DIY expert or a professional, staining woods opens the door to endless possibilities of creativity. Here goes: roll up your sleeves, get hold of materials, and give your wood a look that will stand every gaze in amazement for years to come. And remember, for an unparalleled staining experience, do check out this amazing product. Happy staining!
Take Your Woodworking to the Next Level! Build 16,000 Woodworking Projects With Step-By-Step Plans